How to Manage Magento 2 CMS Pages in the Admin Panel
This comprehensive step-by-step guide explains and shows how to create and edit existing CMS webpages in your Magento 2 online store.
When you start working with Magento 2, it comes with a set of default pages – Home, Category, Product, About us, Customer service, Privacy policy, 404 not found, Enable cookies, 503 service unavailable.
But sometimes you need more than functionality they offer out of the box – let’s say, you need to create FAQ for your store visitors, describe the Return Policy, or implement a blog – in this case CMS pages come in handy.
CMS pages are static pages which contain any type of content: text, video, photos, etc.
They have to be well-designed and appealing because usually their goal is to increase the possibility that a visitor will make a purchase and thus increase the conversion rate.
Also, optimized content fully addressing users search queries enhances SEO results and brings more organic visitors to the site.
This step-by-step guide shows how to create and edit CMS pages in Magento 2 store.
Creating a CMS page
First of all, login to admin space and go to the Content tab. Then go to the Elements menu and click Pages section.
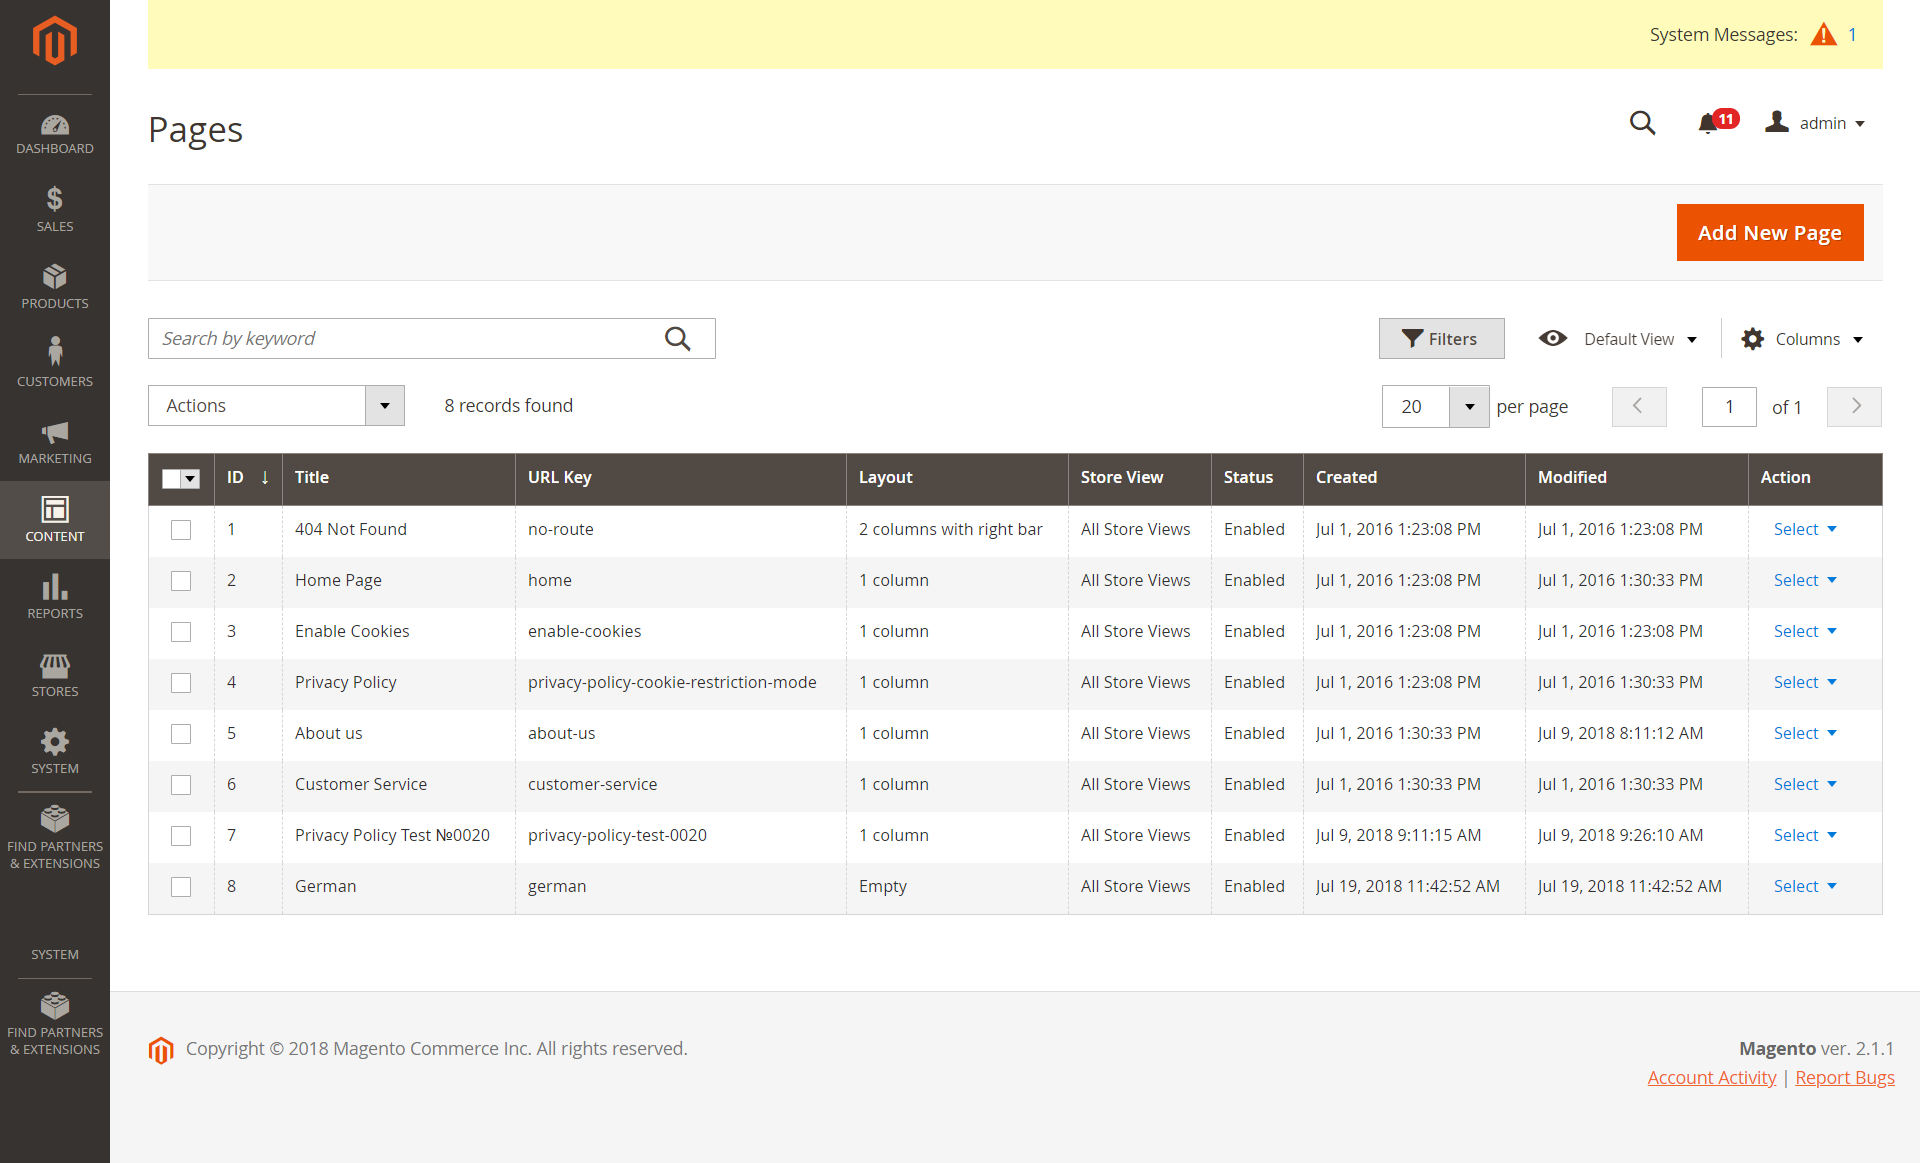
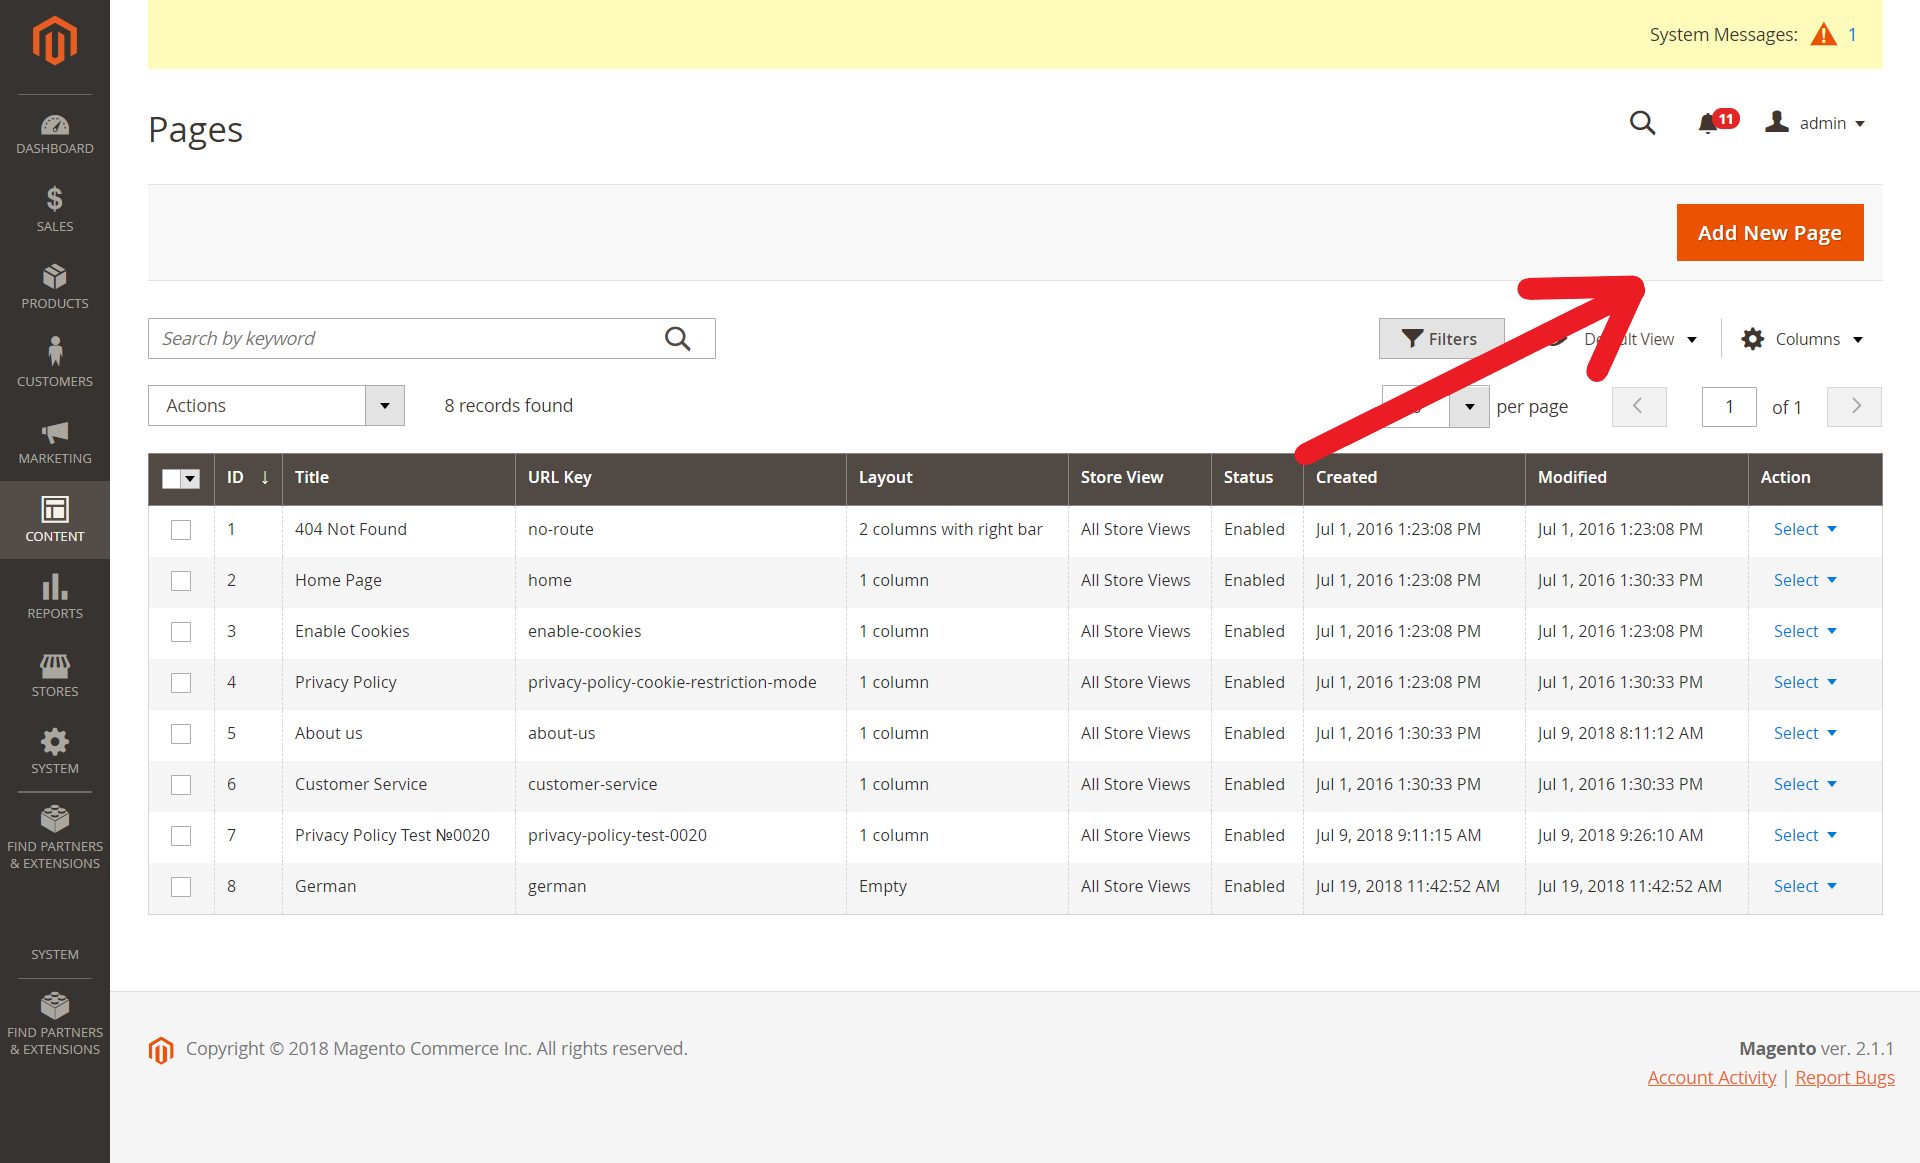
There you will see the orange button named Add new page. Click it.
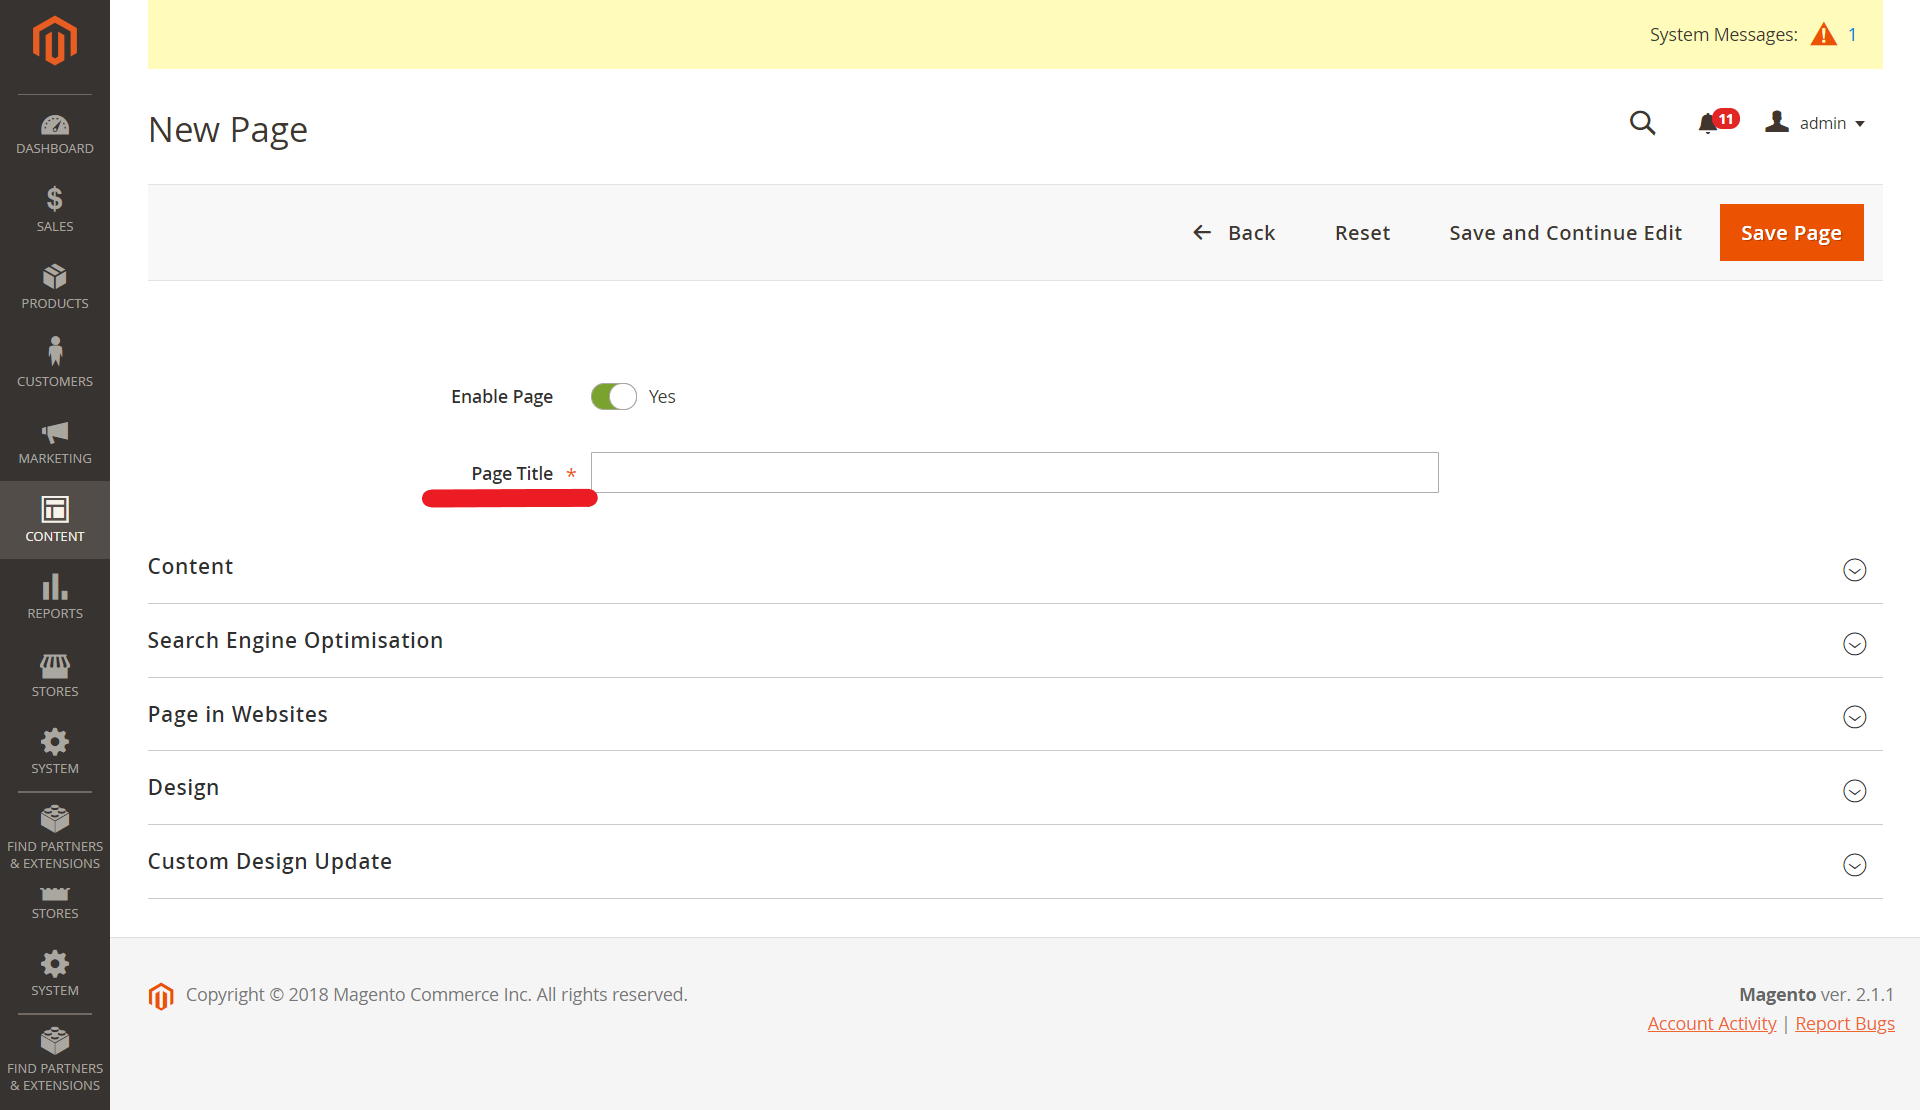
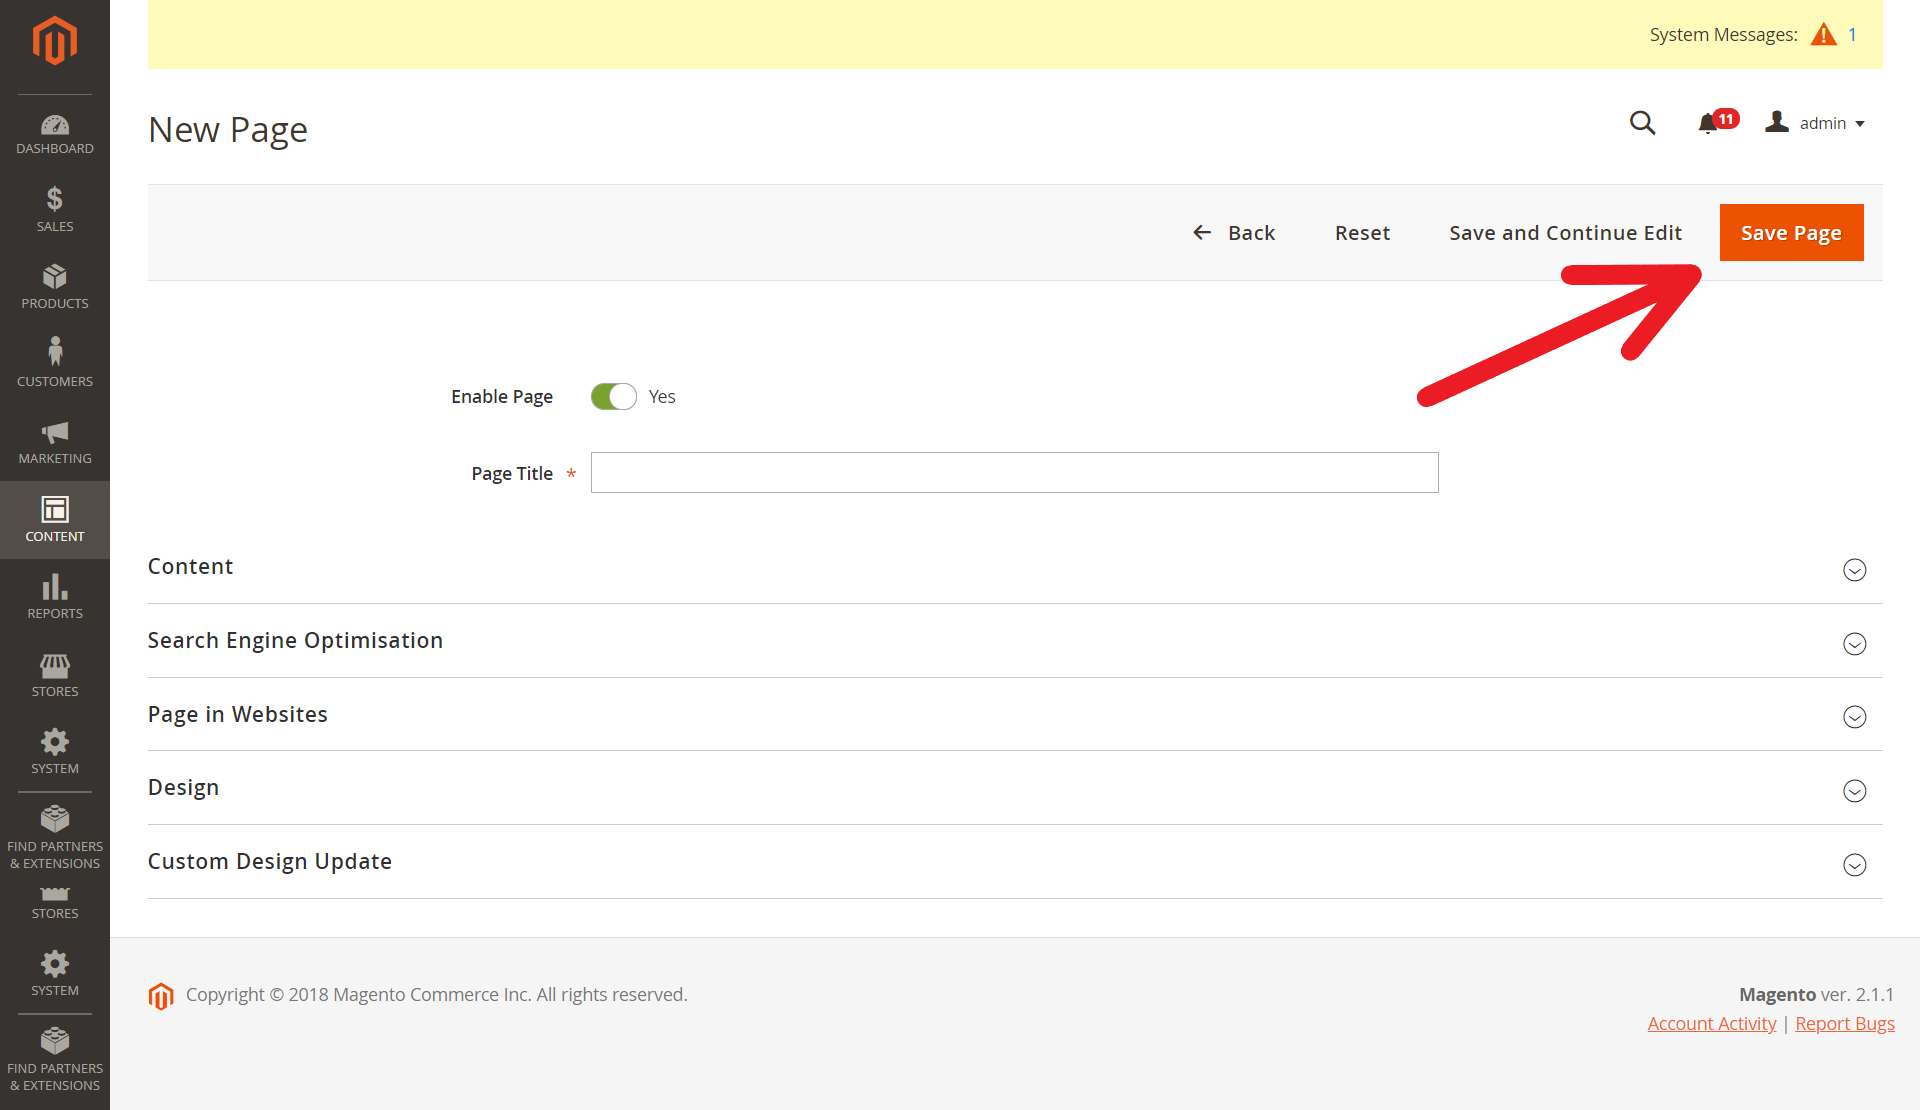
The button will lead you to the menu with a bunch of options you need to fill your page with. First, type a page title because it’s a required field.
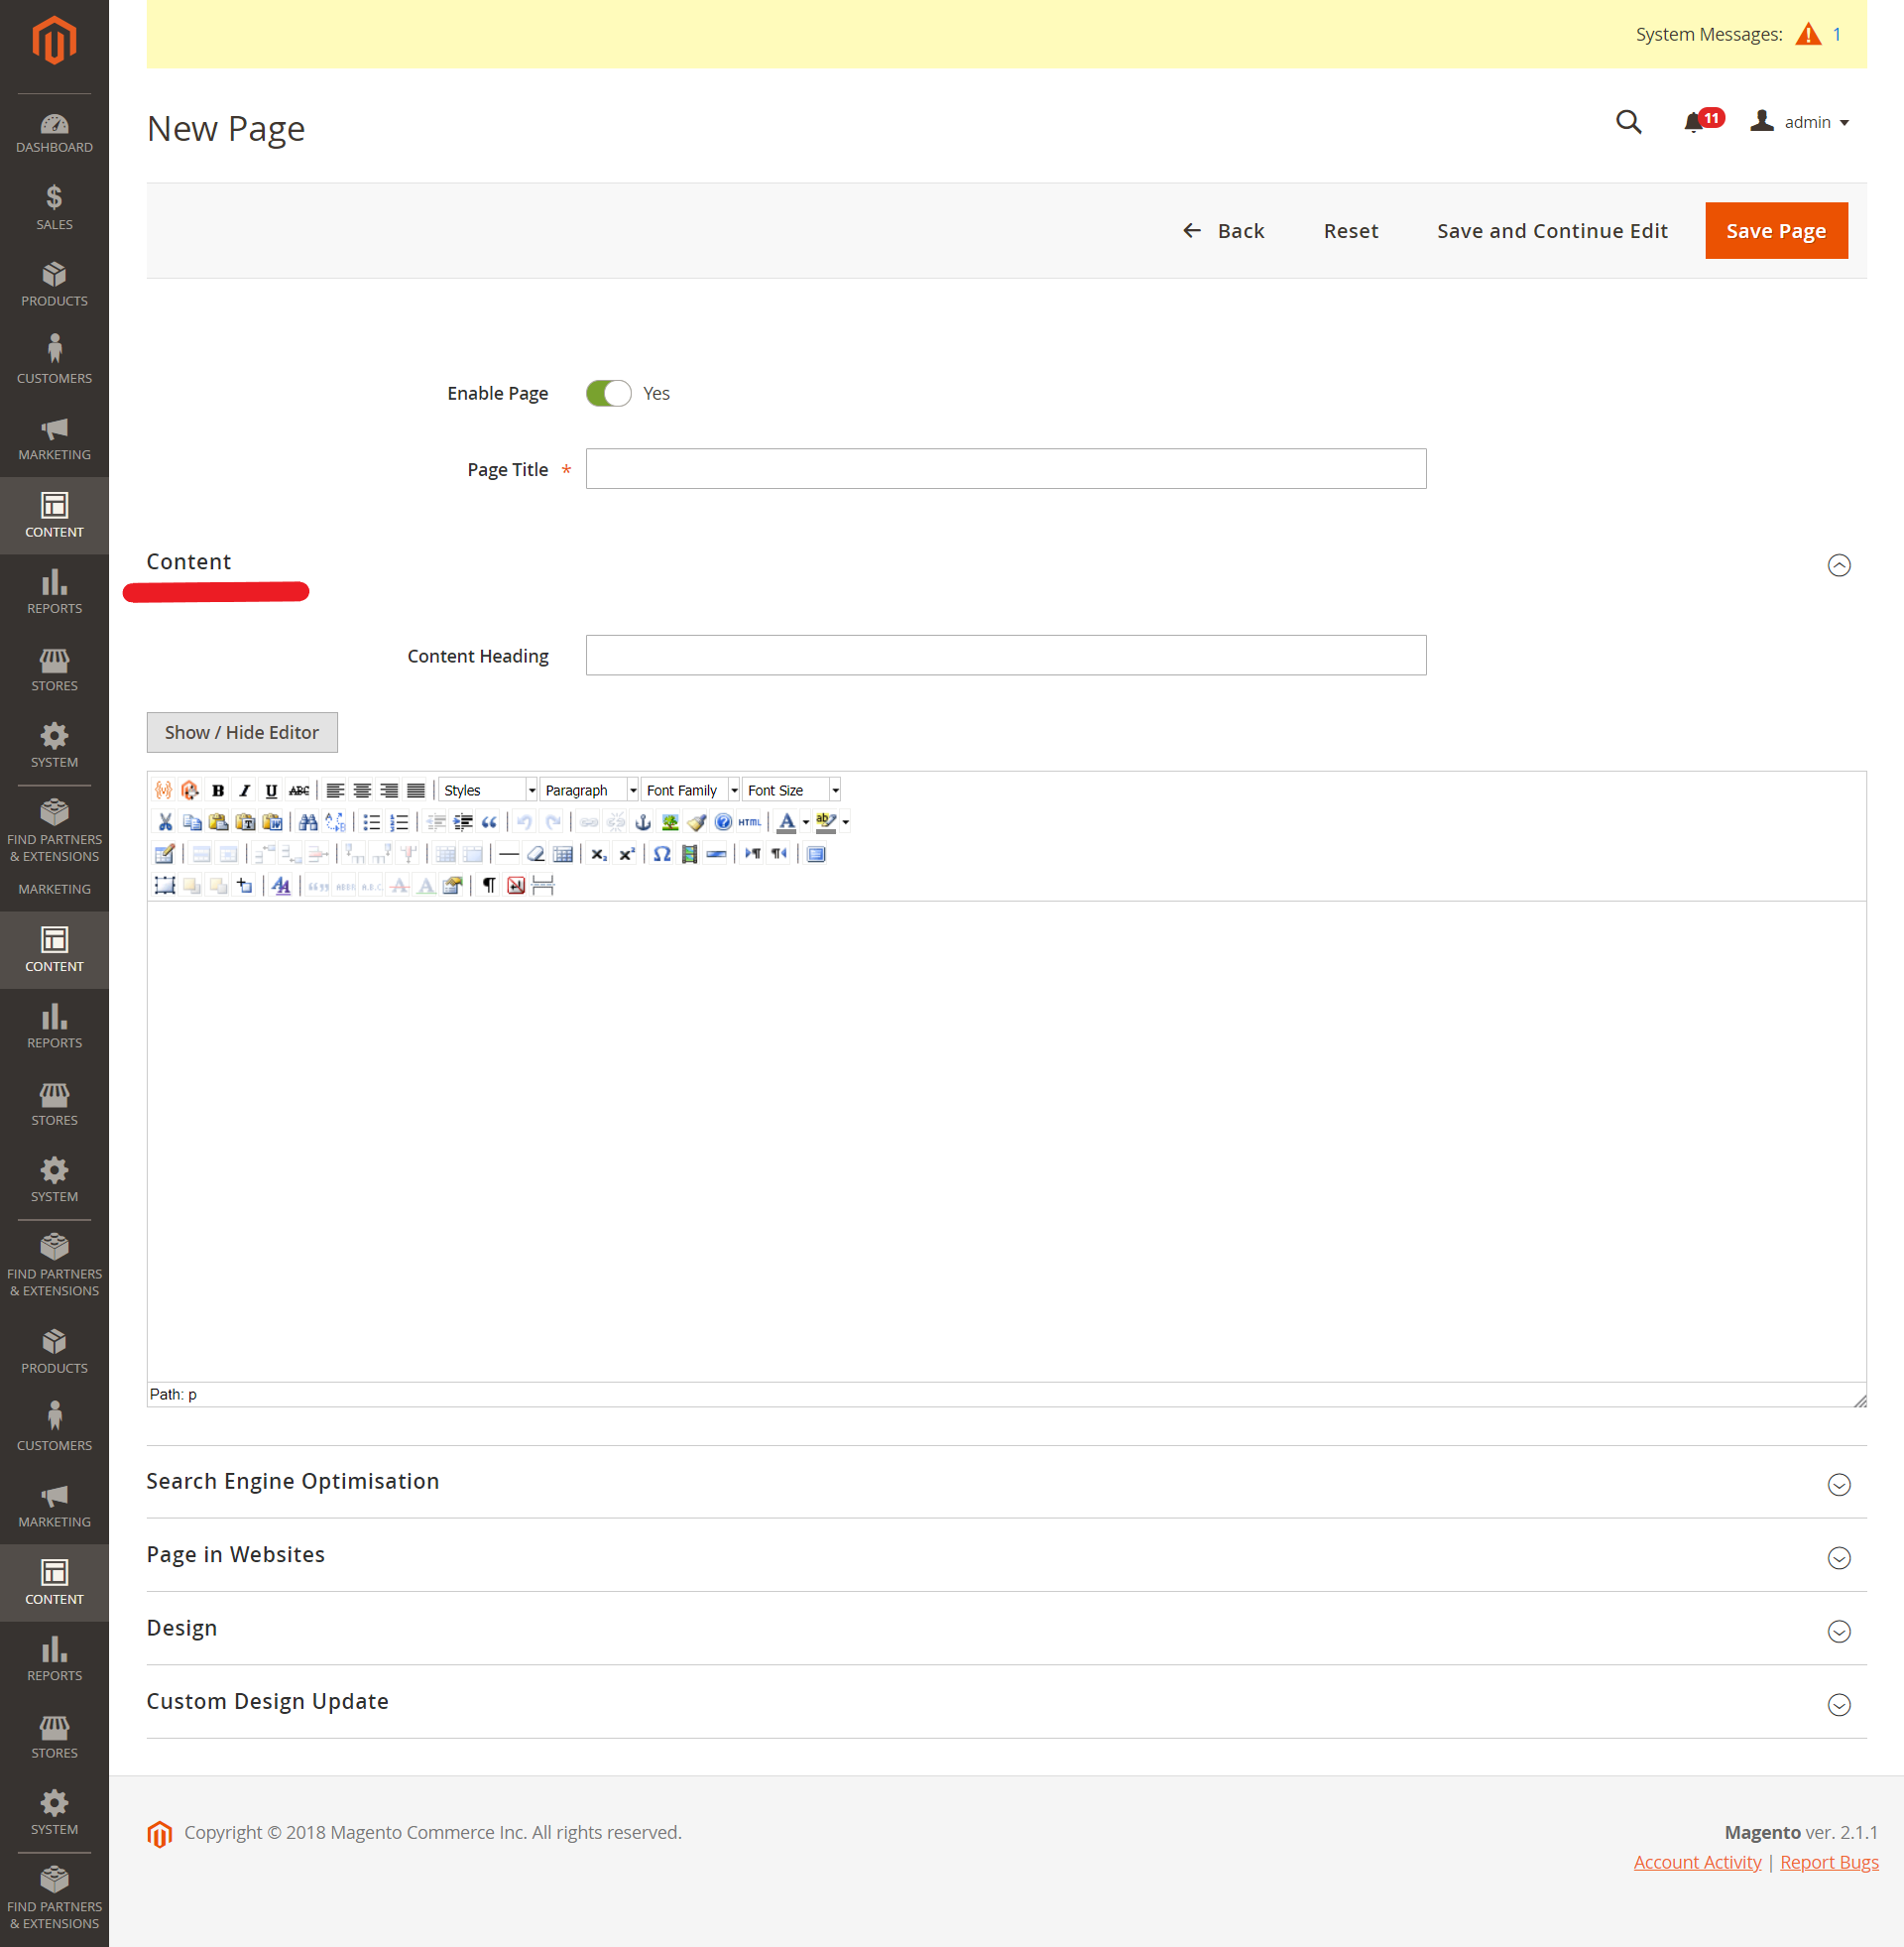
Then, if you expand the Content section you will find a heading field and a simple text editor, though it has all necessary features. It allows uploading pictures, embedding video, inserting links, and etc.
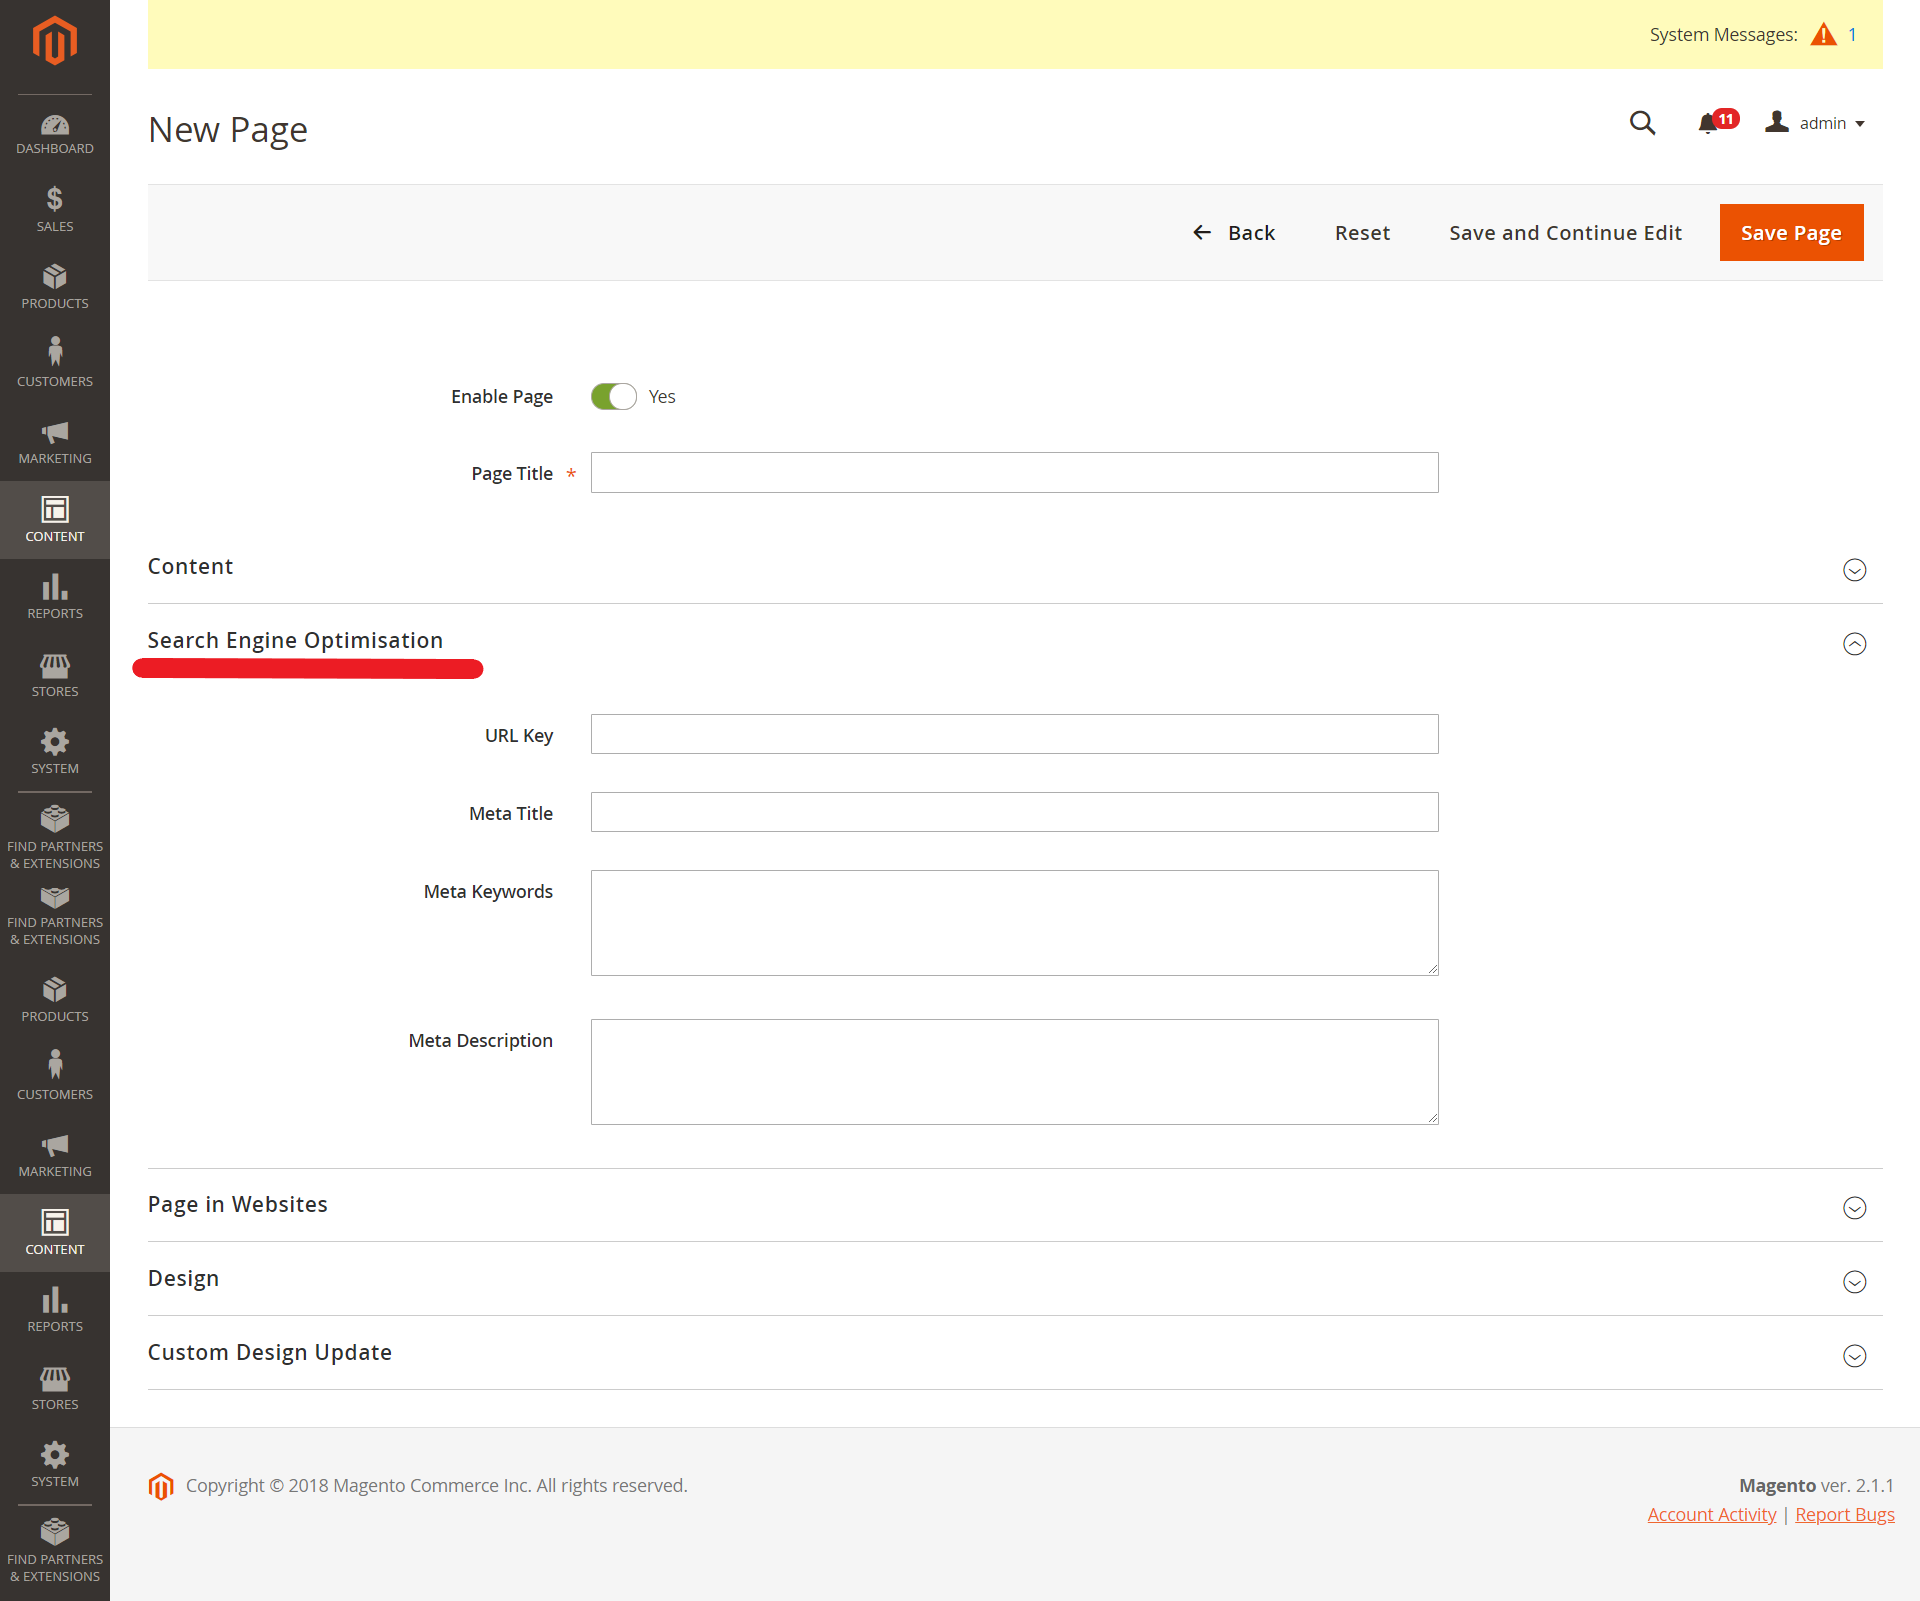
Next section is Search Engine Optimisation. Set URL key, meta title, description and keywords. All of these search engine crawlers need to index your page.
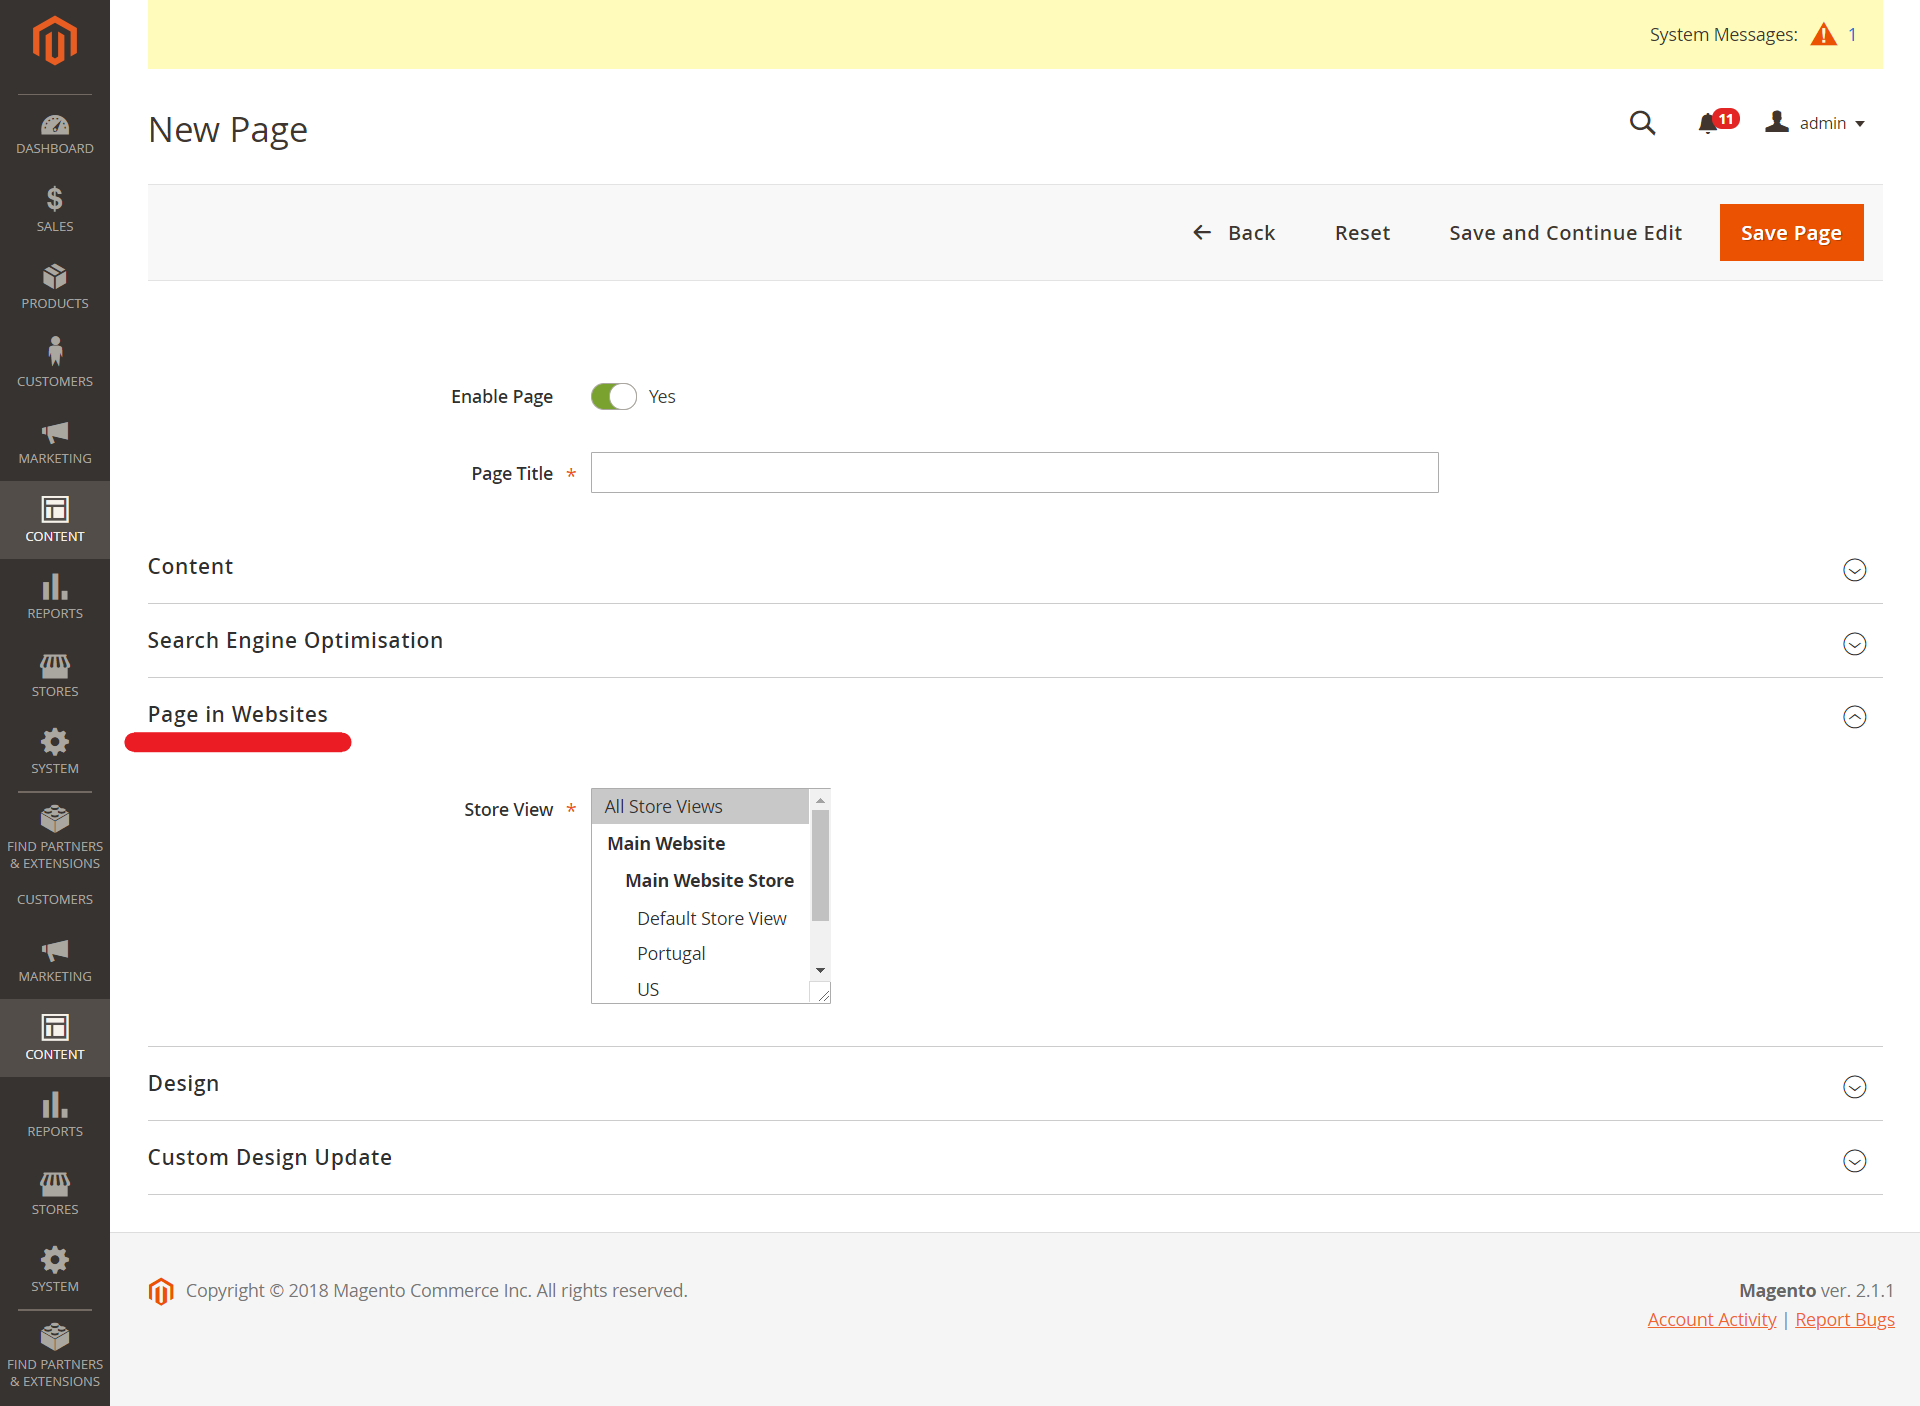
Page in Websites section provides the ability to locate a new page in your online store structure – as there may be several store views for different languages, countries, etc.
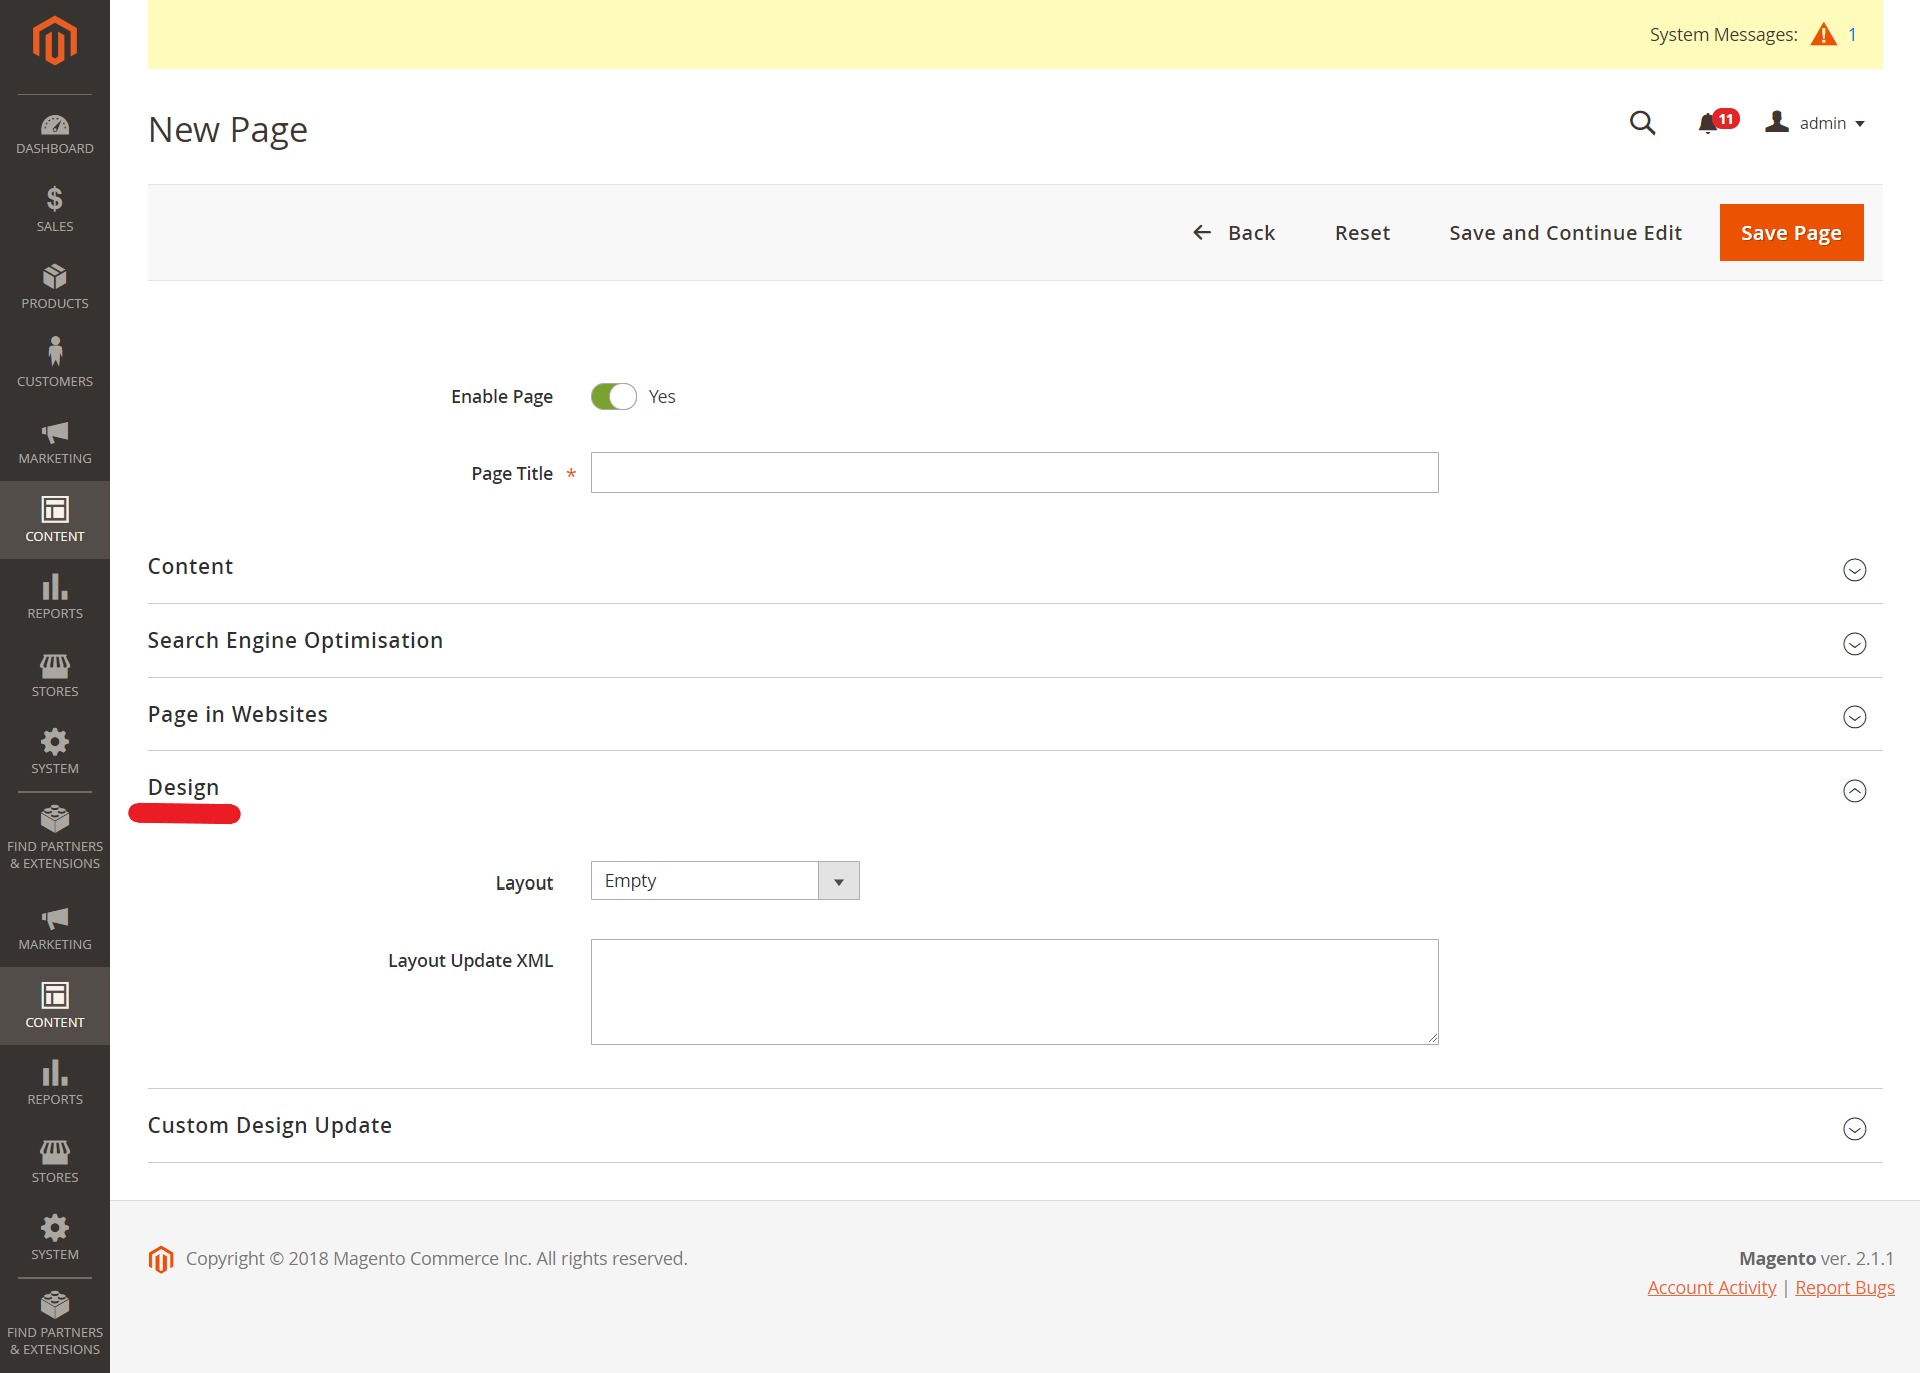
Design part allows choosing a layout of your page in XML format. It gives frontend developers and opportunity to specify custom requirements for your store layout design.
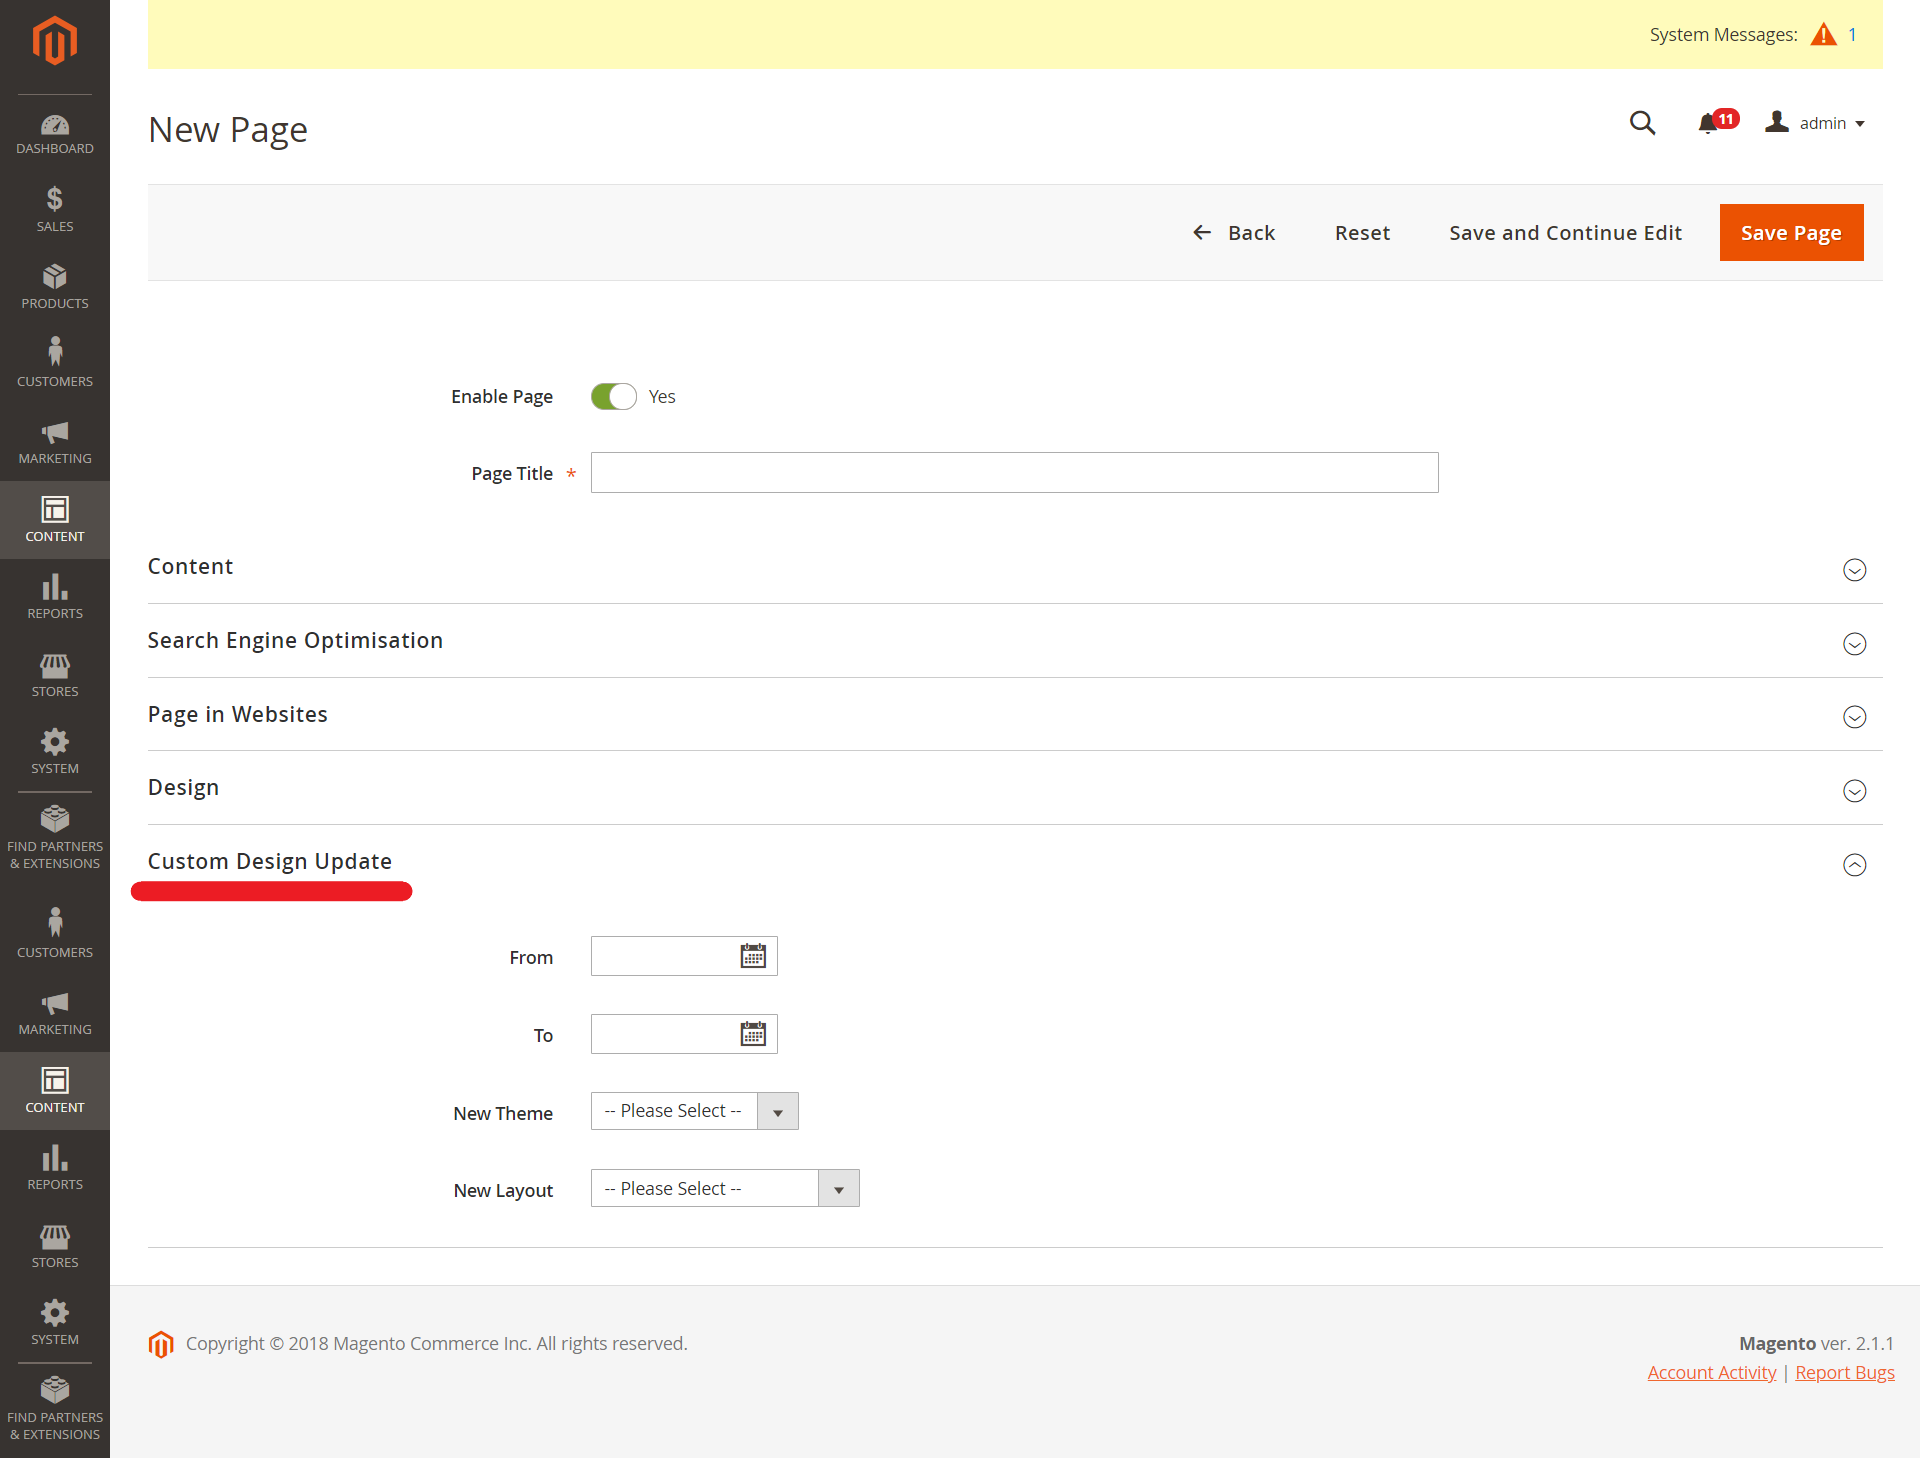
The last section is Custom Design Update where you can preinstall changes that will happen to design in particular time. Maybe you want to dress up your page for some holiday. Use this option and themes will be switched automatically.
After you are done go to the top right corner and click the Save Page button. Your new CMS page will appear in the list of all pages. You will be automatically transferred there to check up changes.
Editing an existing CMS page
This is a Pages Management screen. Here you have the list of already made pages. Use the Search function or the Filters button to easily find what you are looking for.
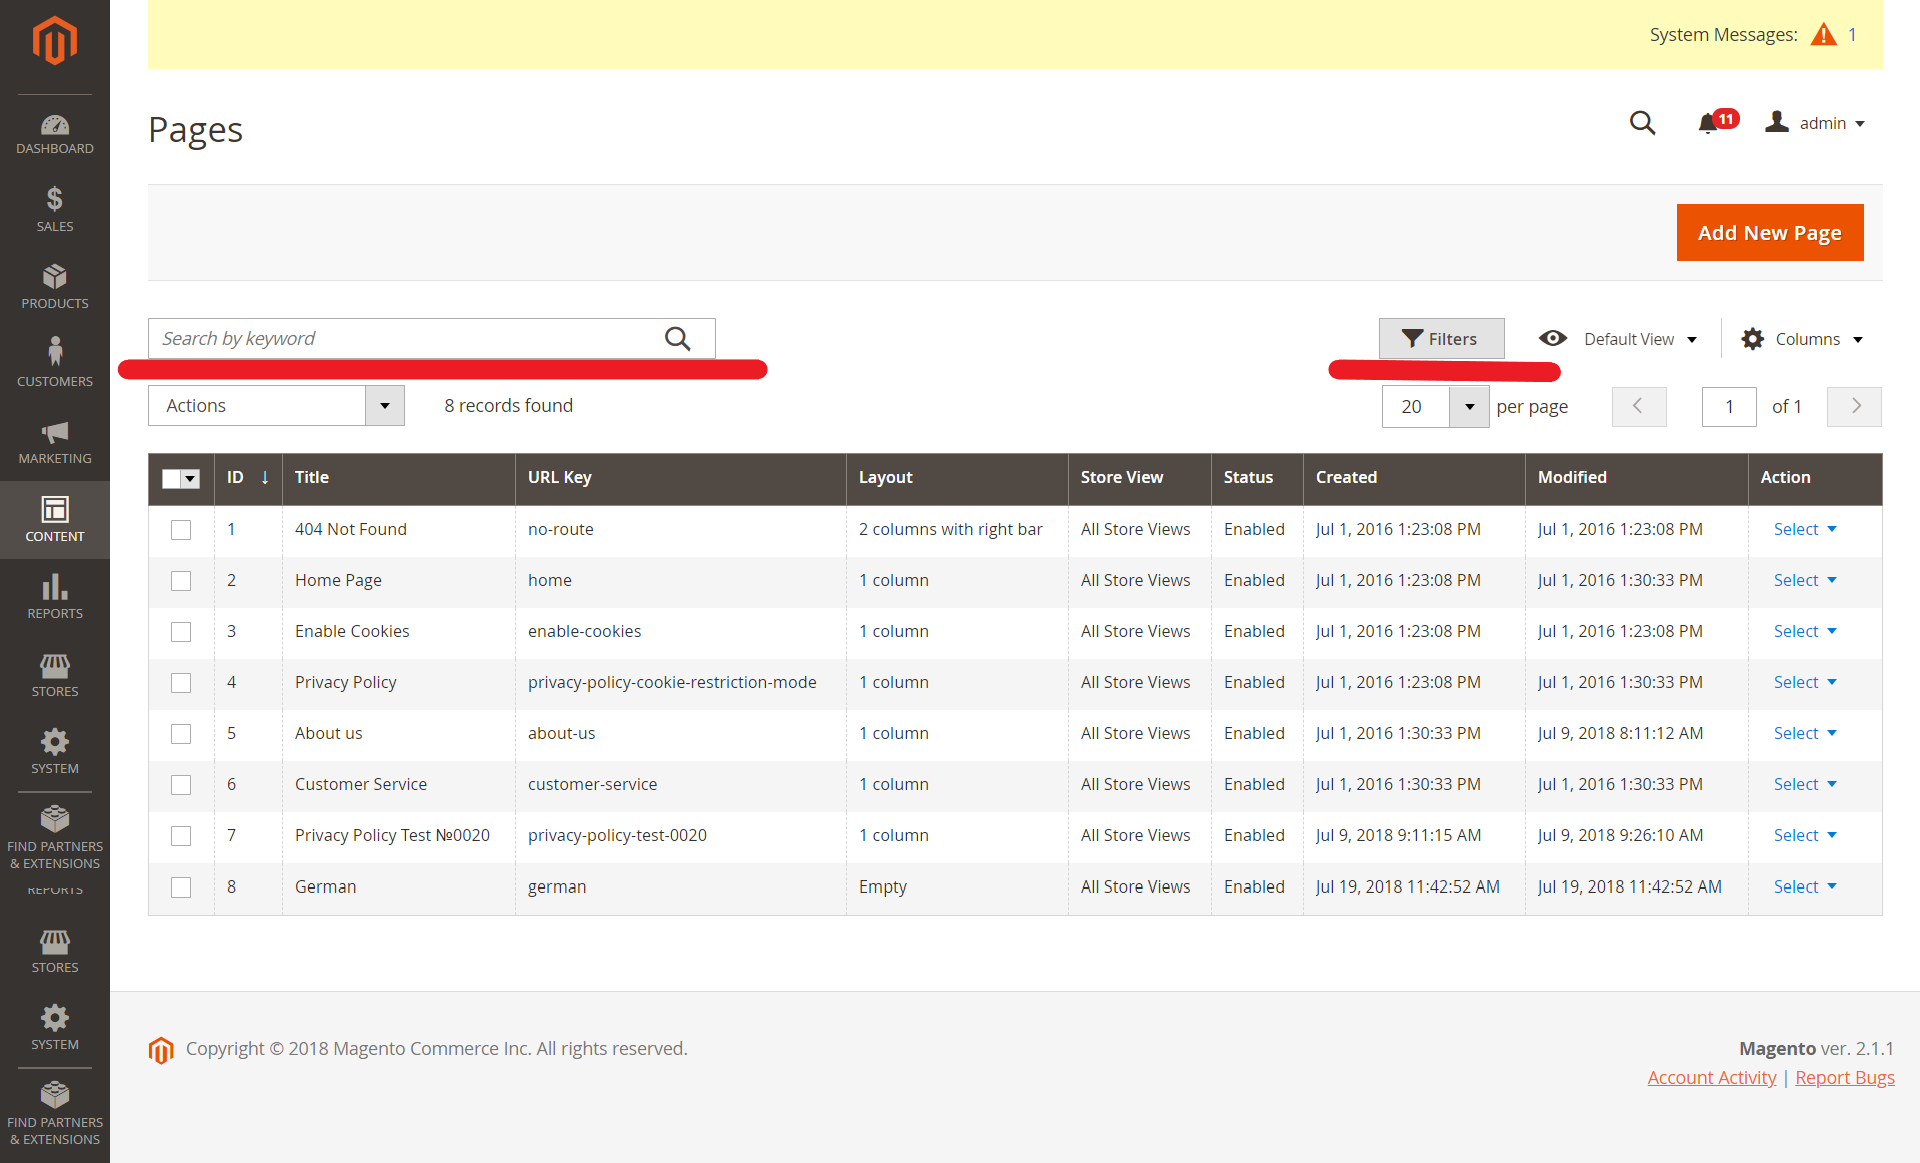
Make some quick edits right from the main screen. Here you can change a page title, URL, layout, make page visible or hide it.
Clicking on the Select in the Action column will show three new possibilities.

Also, you can check several pages. Magento 2 has the drop down menu with the list of actions you can perform.

Hope this article was useful for you. Managing CMS pages in Magento 2 isn’t a complicated task, so we suppose you’ll do it easily. If you have any questions be sure to ask us.
Hunting for Magento development support?
We’ll be in touch soon if you leave your contact information


